Hay tưởng tượng khi bạn muốn áp dụng 1 wifi profile mới cho 100 laptop này. Bạn cần phải đến từng máy và đăng nhập hoặc thay đổi?. OneIT có giải pháp khác cho bạn. Đó là triển khải Wifi Profile mới qua Domain Controller.
Đầu tiên bạn phải có 1 máy tính đã đăng nhập thành công Wifi mới đó hoặc bạn tạo một Wifi Profile kết nối tới mạng wifi mới. Sau đó bạn sẽ export wifi profile này ra bằng cách:
Vào CMD đánh lệnh :
Vào CMD và đánh lệnh : netsh wlan export profile name=”WifiNetwork” folder=”D:\” key=clear
Lưu ý với name=tên wifi bạn muốn export, folder=nơi lưu profile sau khi bạn export

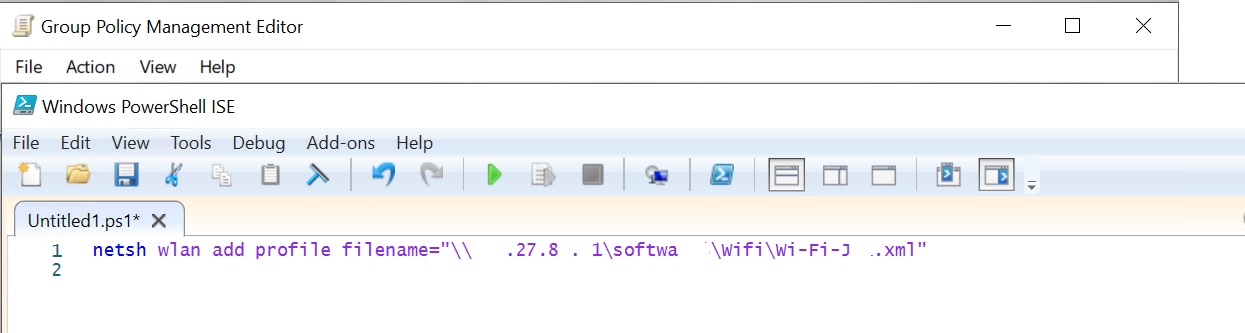
Sau đó tạo file Powershell Script để triển khai thông qua Domain Controller
netsh wlan add profile filename=”Đường dẫn tới file cấu hình wifi.xml”
Lưu ý nếu các máy trong Domain đã từng add Profile Wifi này chúng ta nẹn remove ra trước rồi sau đó add lại thông tin mới của Wifi Profile này
Để remove chúng ta dùng lệnh sau:
netsh wlan delete profile TênProfile
Tiếp theo bạn cấu hình Policy trên Domain Controller
Mở Group Policy Management –> Computer Configuration –> Policies –> Scripts
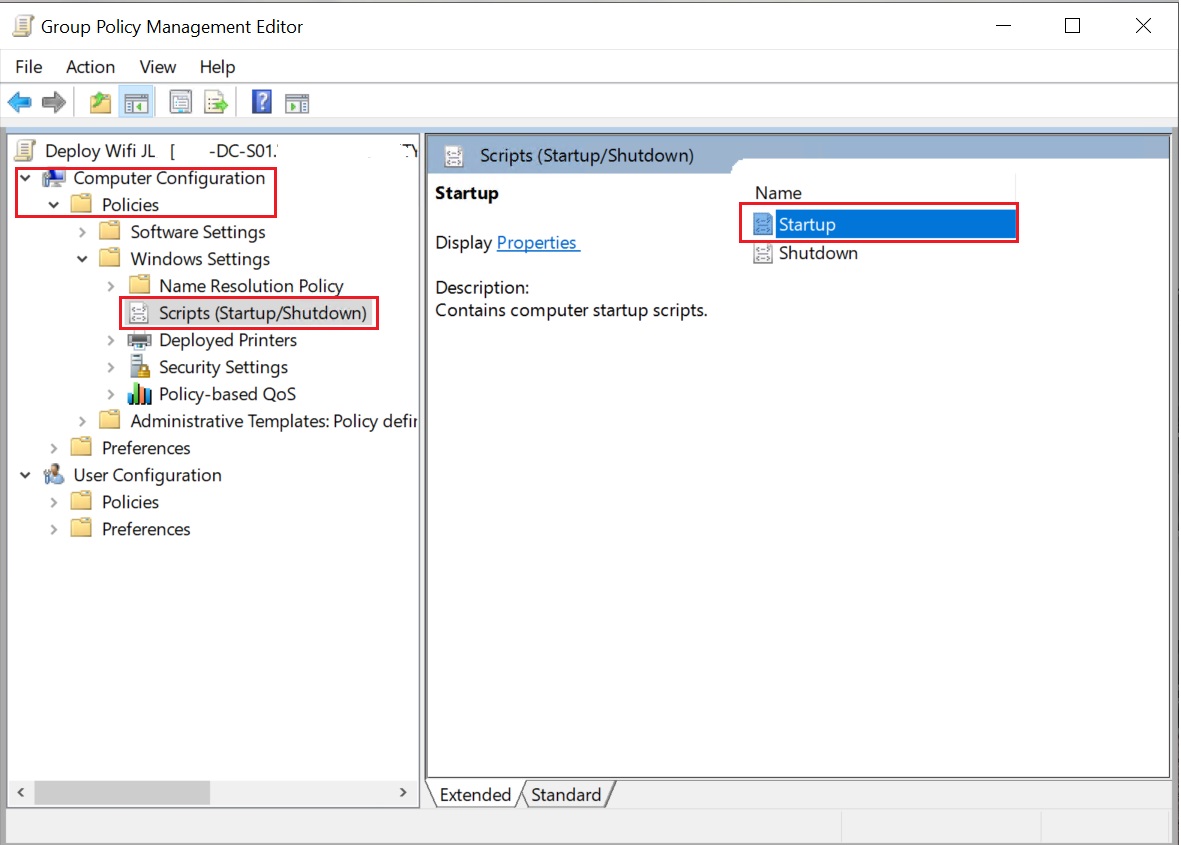
Tiếp theo click chọn Start up và chọn PowerShell Scripts. Ở đây sẽ chọn tới file Shell mà mình tạo lúc nãy
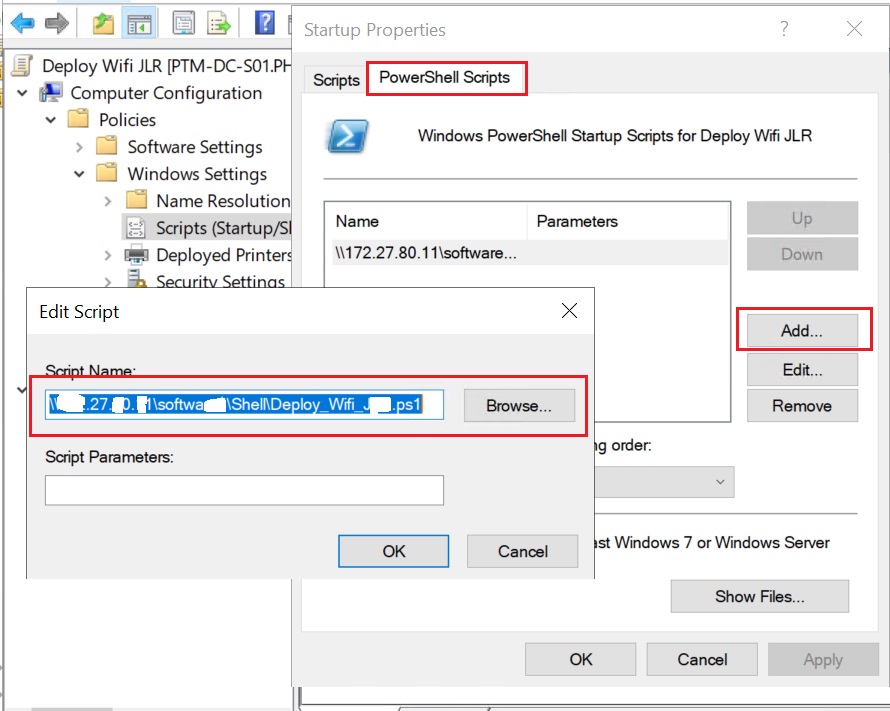
Sau đó bạn bấm OK, lưu Policy mới này lại và vào CMD gõ gpupdate/force để cập nhật policy.


